

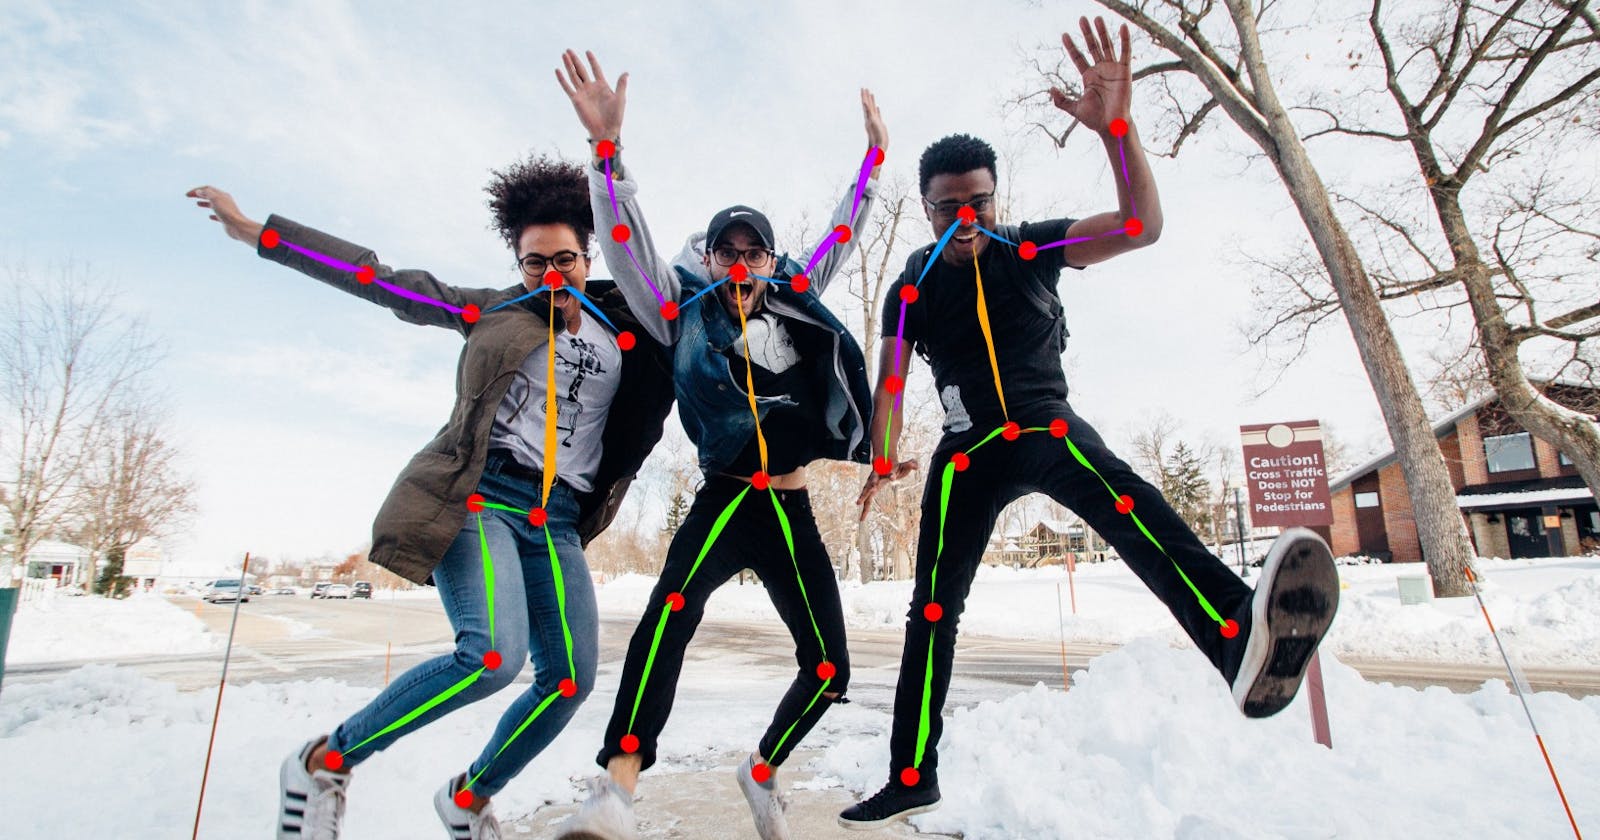


From the estimation of human activity to the training of robots, pose estimation has been helpful in every system involving motion tracking and the detection of poses. It is applied in various fields of technology, and it’s very interesting to learn. You can explore many options; you could create a system to detect a human falling, or you could create your own animated film with motion transfer or augmented reality. In this article, you will learn how you can integrate a pose estimation deep learning model into a Python mobile application and how to use your device camera to detect poses in real-time.
Project Setup
I would assume you have a good knowledge of Python Object-Oriented Programming (OOP), how to install Python libraries on your machine, and how deep learning works. The model we will be using is called movenet/singlepose/thunder, and you can download it on TensorFlow Hub (~24 MB). For the user interface, we will be using Kivy and KivyMD. Install the two libraries and TensorFlow with pip. However, you need git to install Kivy and KivyMD because you want to ensure you install the latest version from the original repository on GitHub. You also need OpenCV to access the camera and draw the poses. And finally, you will use NumPy to work with the frames from the camera feed.
Creating the User Interface
The design for the user interface is simple. There is a big button that you press, which starts the camera. When the camera starts, the pose estimation is brought to life, and you can see the result in real-time. To get started, create a new project folder with any name you like, create two new files — main.py and main.kv—and finally move the downloaded TFLite model into the directory.
In your main.py file, write the following code:
# imports
import cv2
import numpy as np
import tensorflow as tf
from kivymd.app import MDApp
from kivy.clock import Clock
from kivy.lang import Builder
from kivy.uix.image import Image
from kivy.uix.boxlayout import BoxLayout
from kivy.core.window import Window
from kivy.graphics.texture import Texture
from kivymd.uix.snackbar import Snackbar
Window.size = (320, 600) # sets the window size

# main app class
class PoseDetectionApp(MDApp):

    def __init__(self, **kwargs):
        super().__init__(**kwargs)
        self.screen = Builder.load_file('main.kv')

    def build(self):
        return self.screen

# driver code
if __name__ == "__main__":
    PoseDetectionApp().run()
In the code above, the first block imports all the required modules, and the second block, which is the main app class, inherits the MDApp class. It serves as the main base for the app, and you will use it to display the widgets (or UI components) in the app. The final block creates an instance of the main app class and runs it.
The KV language in Kivy is similar to CSS. It contains code where you can create widgets and style them the way you like. Copy and paste the code from GitHub into your main.kv file to create the nice-looking user interface, and run the main.py file.
The main.py file is connected to the kv file using Builder. The Builder.load_file(filename) method in the main app class constructor takes in the path to the kv file as an argument. When you run the main.py file, you should see something like this:
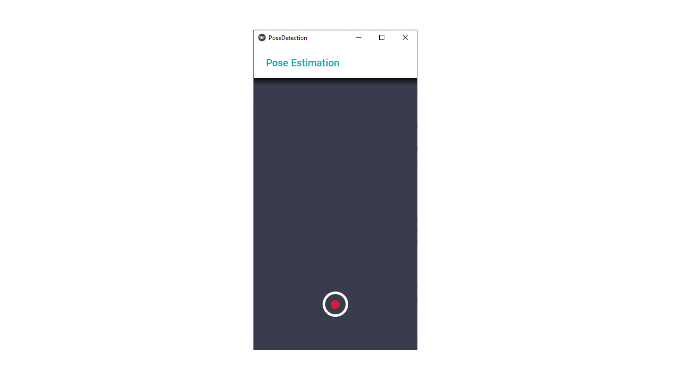
Simple layout for the app
Adding the Model
It’s time to add the model to TensorFlow. In your main.kv file, you will change the BoxLayout class to a custom class; this will be your camera class, and it will control the device camera with OpenCV and apply the model to the frames.
Edit the main.kv file and change BoxLayout to MyCamera, this way:
            MyCamera:
                id: cam
                md_bg_color: (0, 0, 0, 1)
                pos_hint: {"center_x":.5, "center_y":.55}
                size_hint: (1, .4)
Now, create the MyCamera class in your main.py file, directly above the main app class, and add the code from GitHub. Do not run the app yet!
The code represents the camera class. It inherits the BoxLayout class from Kivy, and it uses a clock event at 60 frames per second to read the frames from the camera feed using OpenCV. In the update function, it reads a frame, resizes a copied version, and processes it using the mode with TensorFlow Lite. It returns the keypoints where the poses are located, and it draws those keypoints on the frame with OpenCV. To show the output, the frame is pasted to an Image widget as its texture, and it’s displayed on the screen. The model processes the camera feed at 60 frames per second, so the frame is updated on the screen at regular intervals.
You may have noticed that there is a draw_keypoints function that does not exist. No worries; you will add it now. Directly above the MyCamera class, copy and paste the code for draw_keypoints from GitHub.
Connecting the User Interface with the Model
You have added the model, and the user interface is ready, but something is lacking. The button does not do anything when you click it. This is because you have not added an event listener for the button.
Finally, directly under the MDIconButton class in your main.kv file, add the following code:
                on_release:
                    cam.start() if cam.event is None \
                    else cam.stop(sm)
The code above starts the camera if it’s not been started yet and stops if it has already been started.
Now run the main.py file, and there you have it—your pose estimation app is ready!
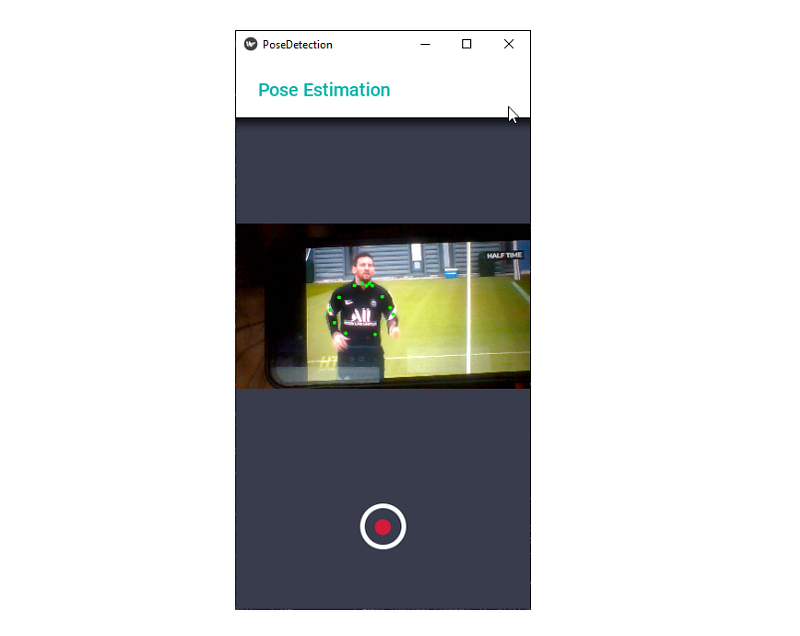
Detecting poses from a playing video
Conclusion
You now understand how pose estimation works and how to bring a deep-learning model to life in a Python mobile app. You were able to use your knowledge of computer vision to detect poses in real time using OpenCV.
Now you have a fully functional real-time pose estimation app, but there are still a lot more functionalities you could add. You could make it record videos from the camera feed with OpenCV. Just create a video writer object and write the frames to it, directly in the update function. You could also make your app have a timer showing how long the video has been recorded.
Try out your ideas, and think about what you could do to make the app better. Draw the edges, too. Then go on and deploy your app with Buildozer!